Using a Database
This walkthough documents the steps necessary to connect your application to a hosted database.
Prerequisites
This walkthough requires the Core Django Setup to be completed. Also, it is important to have your network setup properly so check out Adventures in Networking.
We will assume you have chosen the VPC pattern: "VPC with a Public subnet and Private subnet" But basically you will need the private subnet or subnets which can access the database.
Options for Databases
Use AWS RDS
This is probably the easiest to get up and running. AWS takes care of the messy details of managing the host and provides database-as-a-service (if that's a real thing). In addition, AWS RDS supports mySQL and PostGreSQL, both which are highly compatible with Django.
Host Your Own
Of course you can be running any type of database on an EC2 instance of your choosing. Usually an EC2 instance will be associated with one subnet, but it is possible to have multiple IP addresses in different subnets for redundancy.
Use another DB Service
There as some other database services such as DynamoDB. Depending on the capabilities of the service, you may or may not need the subnet information.
Provision your RDS Database in AWS
We'll just focus on the RDS case for this walkthough. In fact we'll go through the walkthough using PostGreSQL.
So zip on over to Creating an RDS Database and set up one. You should record some key information we'll need here:
- The subnets (there should be at least two) in which we can access the database
- The endpoint (hostname) of the database and the port
- The username and password for the root user
Tip
It's strongly recommended that you create your database at the same time you create the RDS instance because it's very easy. In older versions of the AWS console, you could not do this step. If you forget or choose not to, then you'll need to create your database later.
Configure RDS security group
By default newly created RDS Security Groups have no inbound access. So you need to make sure your RDS Security group has open TCP connections from your subnets associated with the lambdas.
So your inbound rules on the RDS security may look like:
| Type | Protocol | Port Range | Source |
|---|---|---|---|
| All TCP | TCP | 5432 | sg9a9a1dfc |
We open the whole range associated with the security group because when a lambda container is created, it could take any free address in the subnet range.
Summary Data
Note that at this point you don't yet have a database installed on your RDS instance. So let's just pick a name we will use for the walkthough.
Here is our sample data:
| Parameter | Sample value |
|---|---|
| subnets | subnet-f3446aba, subnet-c5b8c79e |
| security group | sg9a9a1dfc |
| endpoint | zappa-db.crt239fsjdlk.us-east-1.rds.amazonaws.com |
| db username | administrator |
| db password | this_is_not_a_good_password |
| db name | zappadbname |
Setup your Configuration
Edit requirements
Note on PostGreSQL: because the psycopg2 library often involves compiling the library, I would suggest using the Docker version of zappa to ensure you have isolation of environments and you don't mess up your local system.
Add this to your requirements.txt
psycopg2
and then
pip install -r requirements.txt
Django Settings
Add the above settings to your settings.py. This is pretty standard Django db stuff.
DATABASES = {
    'default': {
        'ENGINE': 'django.db.backends.postgresql_psycopg2',
        'NAME': 'zappadbname',
        'USER': 'administrator',
        'PASSWORD': 'this_is_not_a_good_password',
        'HOST': 'zappa-db.crt239fsjdlk.us-east-1.rds.amazonaws.com',
        'PORT': '5432',
    }

}
Zappa Settings
Now we add the VPC configuration to our Zappa settings file so that the lambda functions can connect to the database.
{
    "dev": {
        "django_settings": "frankie.settings",
        "s3_bucket": "zappatest-code",
        "aws_region": "us-east-1",
        "vpc_config" : {
            "SubnetIds": [ "subnet-f3446aba","subnet-c5b8c79e" ], // use the private subnet
            "SecurityGroupIds": [ "sg-9a9a1dfc" ]
        }
    }
}
Create your Database
Ok, easy so far? Yes! All we had to do up to this point was carefully click a mouse in the AWS console and edit some text files. If you've already used the AWS console to create your database when the RDS instance was created, you may skip this section.
However, there are many cases where you may have an existing RDS instance and you'll need to create the database not using the AWS console.
You have a few options:
- Use a database tool or GUI on your local machine via a bastion host
- Use the AWS command line tool
- Write some code to setup the database using zappa and Django
Option 1 is easy if you have the db tool and the bastion host already setup. Let's explore some of these options:
Using AWS command line tool
Run the aws command tool with the proper options
Setup the Database using zappa
A more complex way of doing this is to create a management command that can be run in the zappa environment. Then you can have your Django project itself create the database.
Create a management command in your Django Project
Follow these steps to create a management command environment (make sure your virtualenv is fired up)
cd frankie
python manage.py startapp axe
cd axe
mkdir management
cd management
touch __init__.py
mkdir commands
cd commands
touch __init__.py
Then create a file called create_db.py. Put the following code in the file. This
management command will connect to the special admin postgres database and create a new
database specified by dbname specified in your Django settings file.
from psycopg2 import connect
from psycopg2.extensions import ISOLATION_LEVEL_AUTOCOMMIT
from django.core.management.base import BaseCommand, CommandError
from django.conf import settings

class Command(BaseCommand):
    help = 'Creates the initial database'

    def handle(self, *args, **options):
        self.stdout.write(self.style.SUCCESS('Starting db creation'))

        dbname = settings.DATABASES['default']['NAME']
        user = settings.DATABASES['default']['USER']
        password = settings.DATABASES['default']['PASSWORD']
        host = settings.DATABASES['default']['HOST']

        con = None
        con = connect(dbname='postgres', user=user, host=host, password=password)
        con.set_isolation_level(ISOLATION_LEVEL_AUTOCOMMIT)
        cur = con.cursor()
        cur.execute('CREATE DATABASE ' + dbname)
        cur.close()
        con.close()

        self.stdout.write(self.style.SUCCESS('All Done'))
Then register app axe to settings.py and update files in aws using this command:
zappa update dev
Run the management command
zappa manage dev create_db
If all goes well, then your database should be created.
Info
There used to be a github project called zappa-django-utils that had a couple more commands, but it's archived now.
Init the Database
At this point you should have an empty database ready for your Django application to fill up with schema. If this were a traditional server, you would merely run the migrate command. But you can't because there is no command line. Thus we have to modify them to adjust to the new environment.
So create your migrations and push the updated code.
python manage.py makemigrations
zappa update dev
Now you invoke the zappa manage command:
zappa manage dev migrate
And repeat this process every time you make model changes.
Create your Django superuser
The Django management commands were meant to be run interactively on a command line on a traditional server. Because there is no command line with lambda, we must do some trickery to get around the input needed for the Django createsuperuser management command.
Essentially we will use the raw flag on the invoke command to just run raw python. The following command creates a new superuser named 'admin' with email 'admin@yourdomain.com' and password of 'horse battery stapler'
zappa invoke --raw dev "from django.contrib.auth import get_user_model; User = get_user_model(); User.objects.create_superuser('admin', 'admin@yourdomain.com', 'horse battery stapler')"
Additional superusers can be added via this method or the Django admin console.
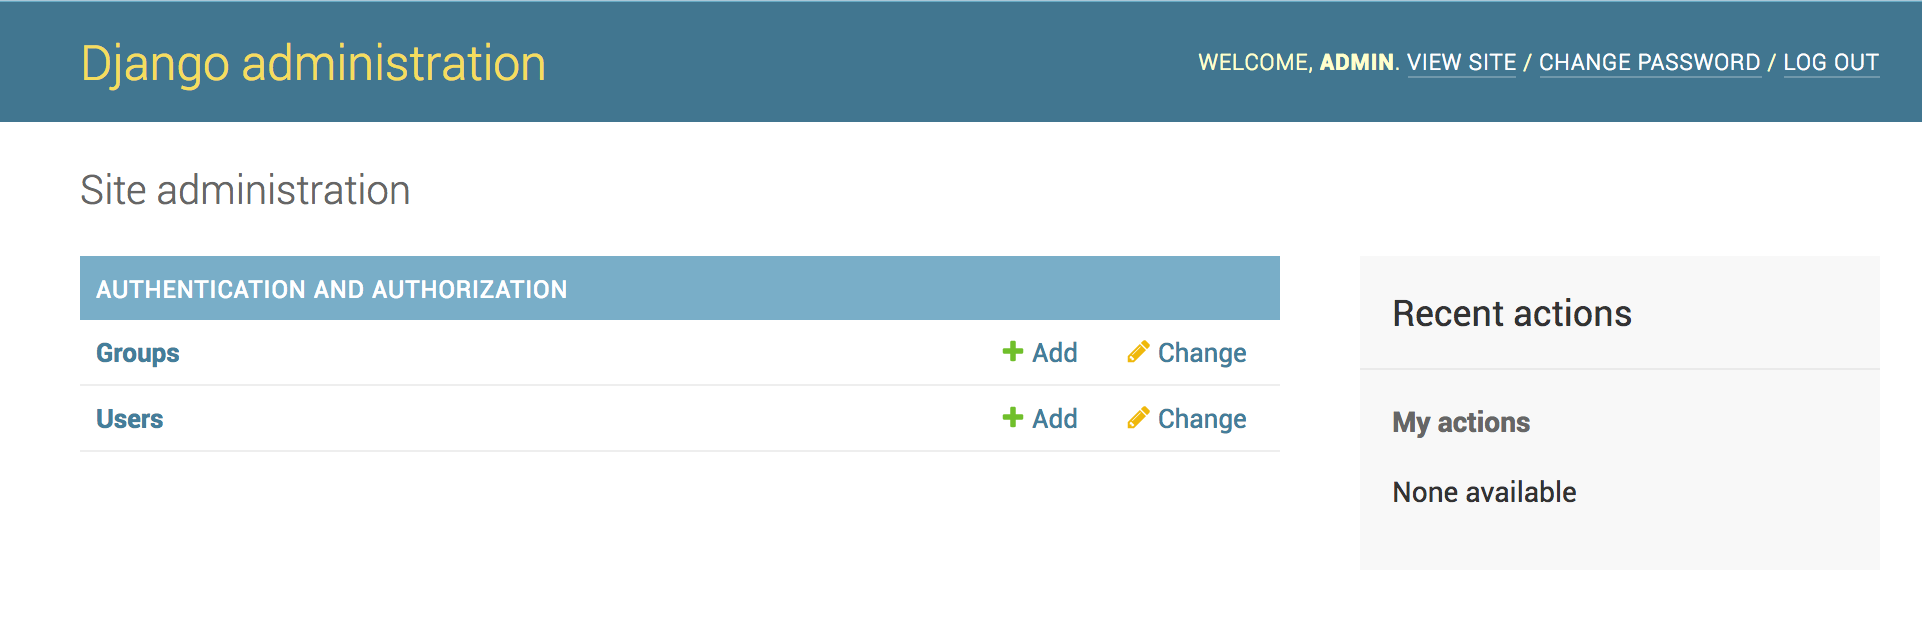
Test and profit
At this point you should be able to log into your Django admin:
(http://marcelog.github.io/articles/aws_lambda_internet_vpc.html)
[https://www.isc.upenn.edu/accessing-mysql-databases-aws-python-lambda-function]
Further Topics
Security
Notice that we are using the master user credentials for the RDS system. It would be more secure if we created a dedicated user that can only access the relevant database. More information on that can be found here: https://www.digitalocean.com/community/tutorials/how-to-use-postgresql-with-your-django-application-on-ubuntu-14-04
You will have to modify your custom Django management command to accommodate creation of a new user.
SQLite issues with Python 3
While not a hosted service, SQLite often has a lot of value to the Django developer. There is currently an issue with using Python with SQLite on AWS Lambda - while an old version of SQLite is included with Lambda (3.7.17: see https://cloudbriefly.com/post/exploring-the-aws-lambda-execution-environment/ for more details), the Python runtimes do not include Python's SQLite library and thus Django cannot use its built-in SQLite database backend.
Django 2.2 and above
The solution recommended by zappa's creator is to use django-s3-sqlite, as these newer versions of Django require a version of SQLite (3.8.3+) newer than Lambda's SQLite 3.7.17 installation.
When using django-s3-sqlite, in addition to bundling the _sqlite3.so binary as suggested there is the option of using the pysqlite3-binary package. This package includes a recent version of this binary as a wheel, and requires overriding the existing sqlite3 with pysqlite inside settings.py (credit to defulmere's gist for the idea):
import sys
sys.modules['sqlite3'] = __import__('pysqlite3')
Additional References
For MySQL tips: https://www.digitalocean.com/community/tutorials/how-to-use-postgresql-with-your-django-application-on-ubuntu-14-04